 how-to
How Do You Design Custom Patterns for Fitness Clothing?
Last Updated: November 4, 2026
Quick Summary
Design custom patterns for fitness clothing by starting with a tech pack that defines garment type, measurements, construction and print area. Choose a performance fabric and run swatch tests for stretch, moisture and opacity before drafting. Then draft, grade and test a sample in motion before ordering production.
- Complete a tech pack with a measurement chart for every size before drafting.
- Match the pattern cut to the fabric, since a woven pattern fails on four-way stretch knit.
- Run swatch tests for stretch recovery, moisture wicking and opacity under stretch.
- Grade sizes from the fit model's size outward and check two sizes above and below.
- Test the sample in motion, checking shoulders, underarms, seams and print alignment.
Table of Contents
- Step 1: Build Your Tech Pack and Size Specs
- Step 2: Choose Performance Fabrics for Your Pattern
- Step 3: Draft and Test Your Custom Patterns
- Step 4: Pick a Print Method for Your Designs
- Step 5: Start Production With No Minimum Order Quantity
- Common Pattern Mistakes to Avoid Before You Order
- Ordering Your First Sample Run This Week
- Frequently Asked Questions
Step 1: Build Your Tech Pack and Size Specs
Custom patterns start with a tech pack, the document that tells a manufacturer exactly what to build. Think of it as the blueprint for your garment. CYBORG WEAR recommends completing your tech pack before you touch a pattern, because every fit decision depends on it.
A solid tech pack includes:
- Garment type and silhouette: Crew neck, long sleeve, cropped, fitted, or relaxed
- Measurement chart: Chest, waist, hips, and length for every size you plan to sell
- Construction details: Seam type, stitch type, and where flatlock or overlock seams will sit
- Trim and label placement: Zipper type, neck tape, and the exact location of any branding
- Print area: The boundaries of any all-over print, so the design lines up at the seams
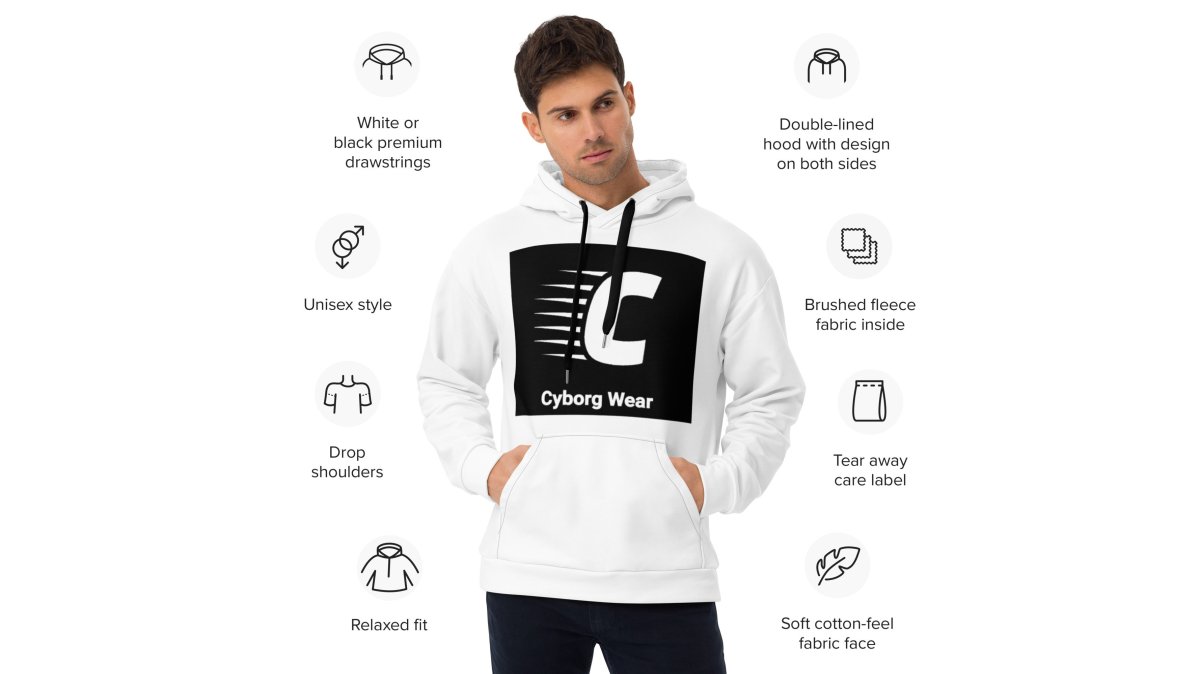
Size specs matter more for activewear than for everyday clothing. Stretch fabric changes how a garment fits once someone moves, so measure the garment flat and compare it to a fit model in motion. Use the size charts from existing products as a reference point. For example, the CYBORG WEAR Unisex Sweatshirt lists chest measurements from 92 cm in XS to 132 cm in 3XL, which gives you a sense of how a real size range is spaced.
Watch out: If you skip the tech pack and let each sample drift, your grading will break across sizes. Lock the specs first.
Step 2: Choose Performance Fabrics for Your Pattern
Fabric decides how your pattern behaves. A pattern cut for a stiff woven will fail on a four-way stretch knit, so match the cut to the material before you draft. The part that protects your pattern is a short performance-testing protocol you run on a swatch before you commit a size range to it.
Common performance fabric choices include:
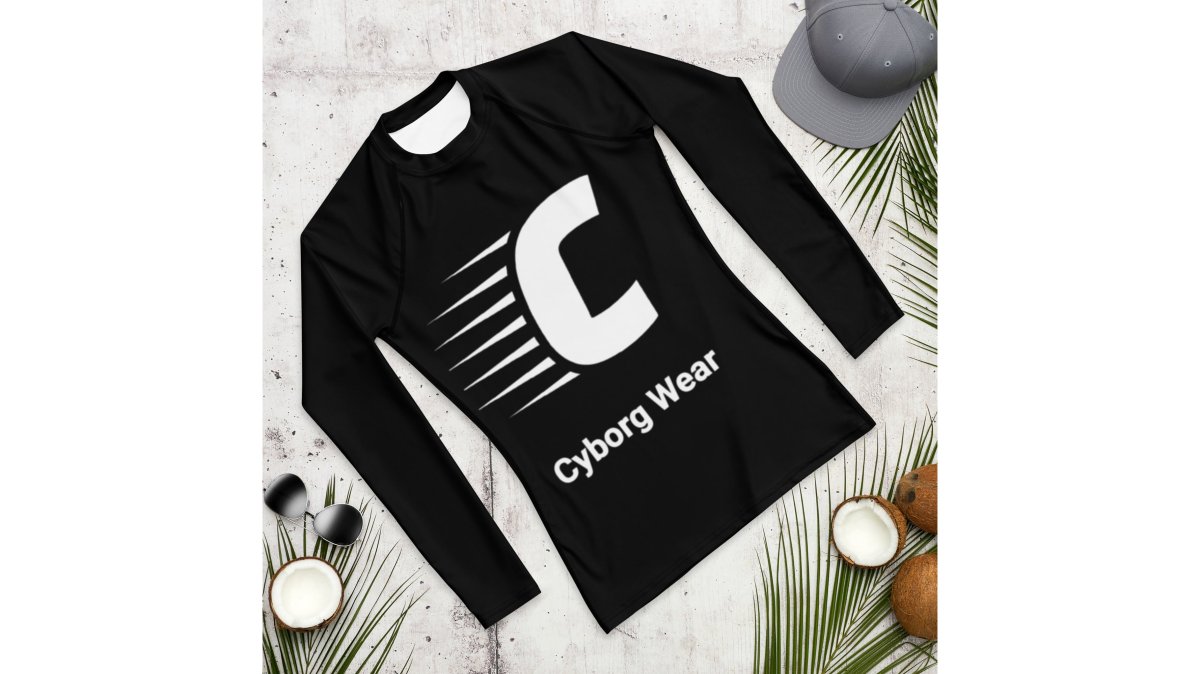
- Recycled polyester blends: Good moisture management and print clarity. The CYBORG WEAR all-over print men's rash guard uses 81% recycled polyester and 19% spandex (Lycra) in the US.
- Polyester-spandex blends: Four-way stretch that recovers well. The CYBORG WEAR Yoga Leggings use 82% polyester and 18% spandex.
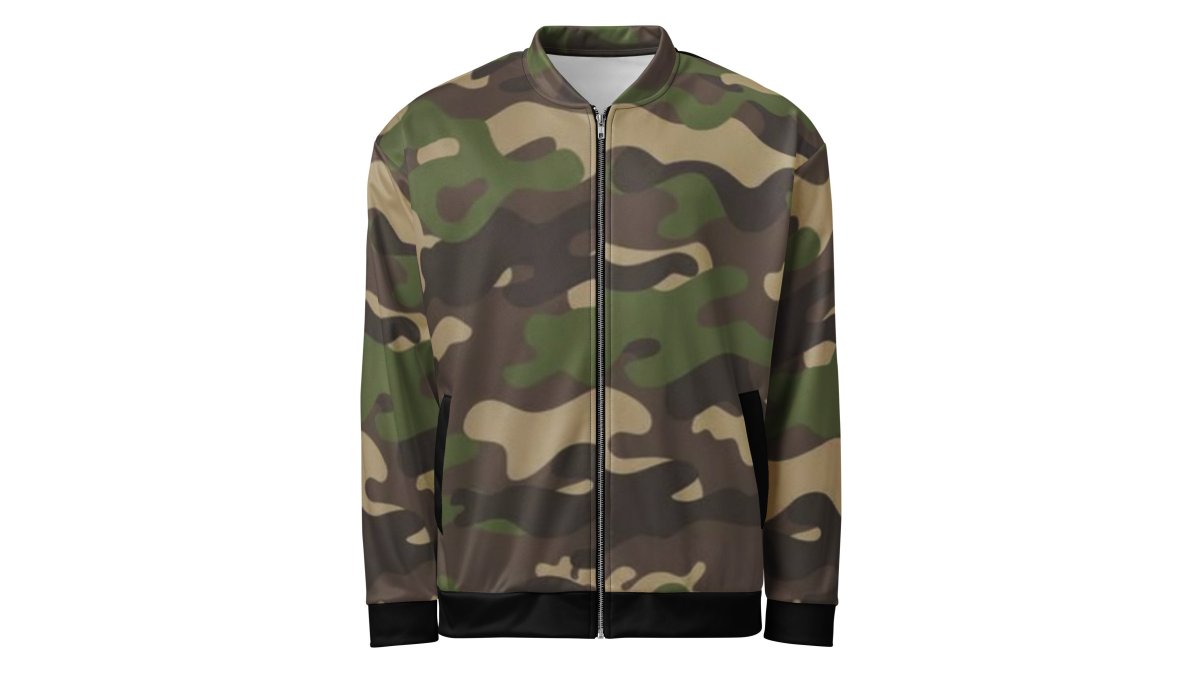
- Brushed fleece lining: Adds warmth for outerwear. The Unisex Bomber Jacket pairs a polyester shell with a brushed fleece inside.
For a closer look at how a comparable performance rash guard is cut and finished, see the all-over print men's rash guard. For a finished performance crew neck built from a similar fabric, the Unisex Performance Crew Neck T Shirt 1 is a useful reference.

Match the Fabric to the Pattern Block
Before you draft, decide which block the fabric belongs to. The rash guard fabric is listed at 230 g/m² in the EU and 255 g/m² in the US.
Run a Swatch Test Before You Cut a Pattern
Order a swatch of every candidate fabric and run four checks before you draft:
- Stretch and recovery: Mark a 10 cm square, stretch it to its comfortable limit, release, and measure again after five cycles. A fabric that does not return within a few millimeters will sag at the knee, elbow, and seat.
- Moisture management: Place a drop of water on the face of the fabric and time how long it takes to wick through to the back. Slow wicking shows up as a clammy garment in the fitting room even when the spec sheet says "moisture-wicking."
- Opacity under stretch: Stretch the swatch over a contrasting surface and check it under bright light. This is the check that catches a fabric that looks opaque flat but goes sheer at the hip or shoulder.
- Print adhesion: If you plan sublimation, print a small test patch and wash it five times. Look for cracking, fading, or a hand-feel change before you commit the full pattern.
performance fabric and moisture-wicking textile guidance
Watch out: A fabric that passes every lab spec can still fail on the body. Test the swatch on a fit model in motion before you lock the pattern to it, because stretch direction and seam placement change how the same fabric performs at the shoulder versus the hem.
The fabric options below each suit a different pattern approach, so match the material to the block before you draft.
| Fabric | Best for | Key figure |
|---|---|---|
| Recycled polyester blend | Moisture management and print clarity | 81% recycled polyester, 19% spandex (rash guard) |
| Polyester-spandex blend | Four-way stretch that recovers well | 82% polyester, 18% spandex |
| Brushed fleece lining | Added warmth in outerwear | Polyester shell with brushed fleece inside |
Step 3: Draft and Test Your Custom Patterns
Once your specs and fabric are set, draft the base pattern. To see how a performance athletic t-shirt built for vigorous movement holds up as a benchmark, compare it with the men's athletic t-shirt. Work from your measurement chart, not from a store-bought garment you want to copy. Then sew a test sample and check it on a real body in motion.

Test for:
- Fit at the stress points: Shoulders, underarms, and the crotch seam
- Coverage during movement: Squats, overhead reaches, and forward bends
- Print alignment: Whether the design sits where you planned after sewing
A designer in a bright studio laying out a printed fitness top pattern on a cutting table with rulers and fabric swatches nearby is the kind of workspace most small teams end up in. The drafting itself is quick. The testing is where patterns get fixed.
Grade the Pattern With Rules, Not Eyeballing
Grading means scaling your base pattern up and down to create every size. Do it with the measurement chart open beside you, and grade from the fit model's size outward in both directions rather than from the smallest size up. That keeps the middle of the range honest, which is where most of your sales will land.
Grade the pattern on the fit model's size first, then check two sizes above and two below. The CYBORG WEAR Unisex Sweatshirt chart runs from XS to 3XL.
Test Seam Strength and Stretch Recovery
Seams are where activewear fails first. Stretch the seam by hand and then in a real movement, and look for popped stitches or thread snapping.
Step 4: Pick a Print Method for Your Designs
Your print method affects how the pattern looks on the finished garment, so decide on it before final sampling. All-over sublimation is common for performance wear because the ink bonds with polyester and stays bright after washing.
Check how the print sits across seams and stretch zones. A bold graphic can distort when the fabric stretches, so test the print on the sample body, not on a flat table. For a finished example of a recycled sports jersey, see the recycled unisex sports jersey, which shows how a print looks on a complete garment.

Keep your design large enough to survive stretch and small enough to avoid awkward cuts at seams. Mark the print boundaries on your tech pack so the designer and the factory work from the same layout.
Step 5: Start Production With No Minimum Order Quantity
The CYBORG WEAR Yoga Leggings list states that products are made to order as soon as an order is placed, which takes longer to deliver.
Common Pattern Mistakes to Avoid Before You Order
Most first-run problems come from the same handful of errors:
- Grading by eye: Use the measurement chart for every size, not a guess
- Ignoring stretch direction: Cut the grain so the fabric stretches where the body moves
- Skipping the fit test: A pattern that looks good flat can fail in motion
- Overlooking seam placement: Seams across a print can break the design
- Ordering before sampling: One test garment will catch problems a spec sheet misses
fabric testing and seam performance standards
Textile design for performance fabrics takes practice. Expect your first two or three samples to need changes. Treat each one as data, not as a failure.
Ordering Your First Sample Run This Week
Set a clear checklist before you send anything to a factory:
- Tech pack complete with measurements for every size
- Fabric chosen and its weight confirmed
- Base pattern drafted and graded
- Test sample sewn and checked in motion
- Print boundaries marked and aligned
Frequently Asked Questions
How do I create my own fitness clothing line?
Start by defining your customer and the garments you want to sell, such as rash guards or hoodies. Next, build a tech pack with measurements, fabric specs and construction details, then draft a sample pattern. Test a prototype for fit and stretch before production. Keep your first range small and refine it based on real customer feedback.
What software is best for designing custom apparel patterns?
Simple prints can be designed in graphic tools, but the pattern pieces must still be drafted to the garment's actual cut. Test each file with a sample before placing a larger order so you catch fit and print-alignment issues early.
What is the difference between sublimation and screen printing for fitness apparel?
Ask your manufacturer for a print sample on the exact fabric before committing.
Ready to see how finished, performance-tested designs look before you build your own? Explore the CYBORG WEAR collection and start from a proven fit. Shop now.